One step at a time (Learning the way of the Mangaka)
Ok so let´s begin with what we let off last time. I finally used a ruler and redrew some of the assets that I already had. It takes longer than expected, but time is all it takes. Although I been having trouble getting the exact position of the assets in paper (with this I mean achieving lines that are parallel to the corners of the page) I don´t really think this is a big issue because it could be edited in photoshop... or so I thought. As a matter of fact, if I edit the drawing in PS, even if I rotate them as smart object and rasterize the layer, the design looks kinda off. Maybe I´ll try using other tools for this problem. Free transform comes to mind for this task. If that doesn´t work I´ll redraw the assets one last time but now, using millimetric paper (I hope to find this kind of pages in white, because I´ve only seen It in orange).
I made use of a light pad I ordered via Amazon. It took 3/4 days to arrive (one of the reasons I didn´t make an update before) and it wasn´t as expensive as I thought it would be, so that was nice, helps a lot during work and the light makes me still awake until very late, aiding my sight.
Now, lets make a comparison of the first sketch and the newly worked designs:

We can see that the lines where clumsy, the color wasn´t black (which we need them to be) the shapes aren´t that clear and because of that they lose purpose. They where average overall.
Redrawn assets:
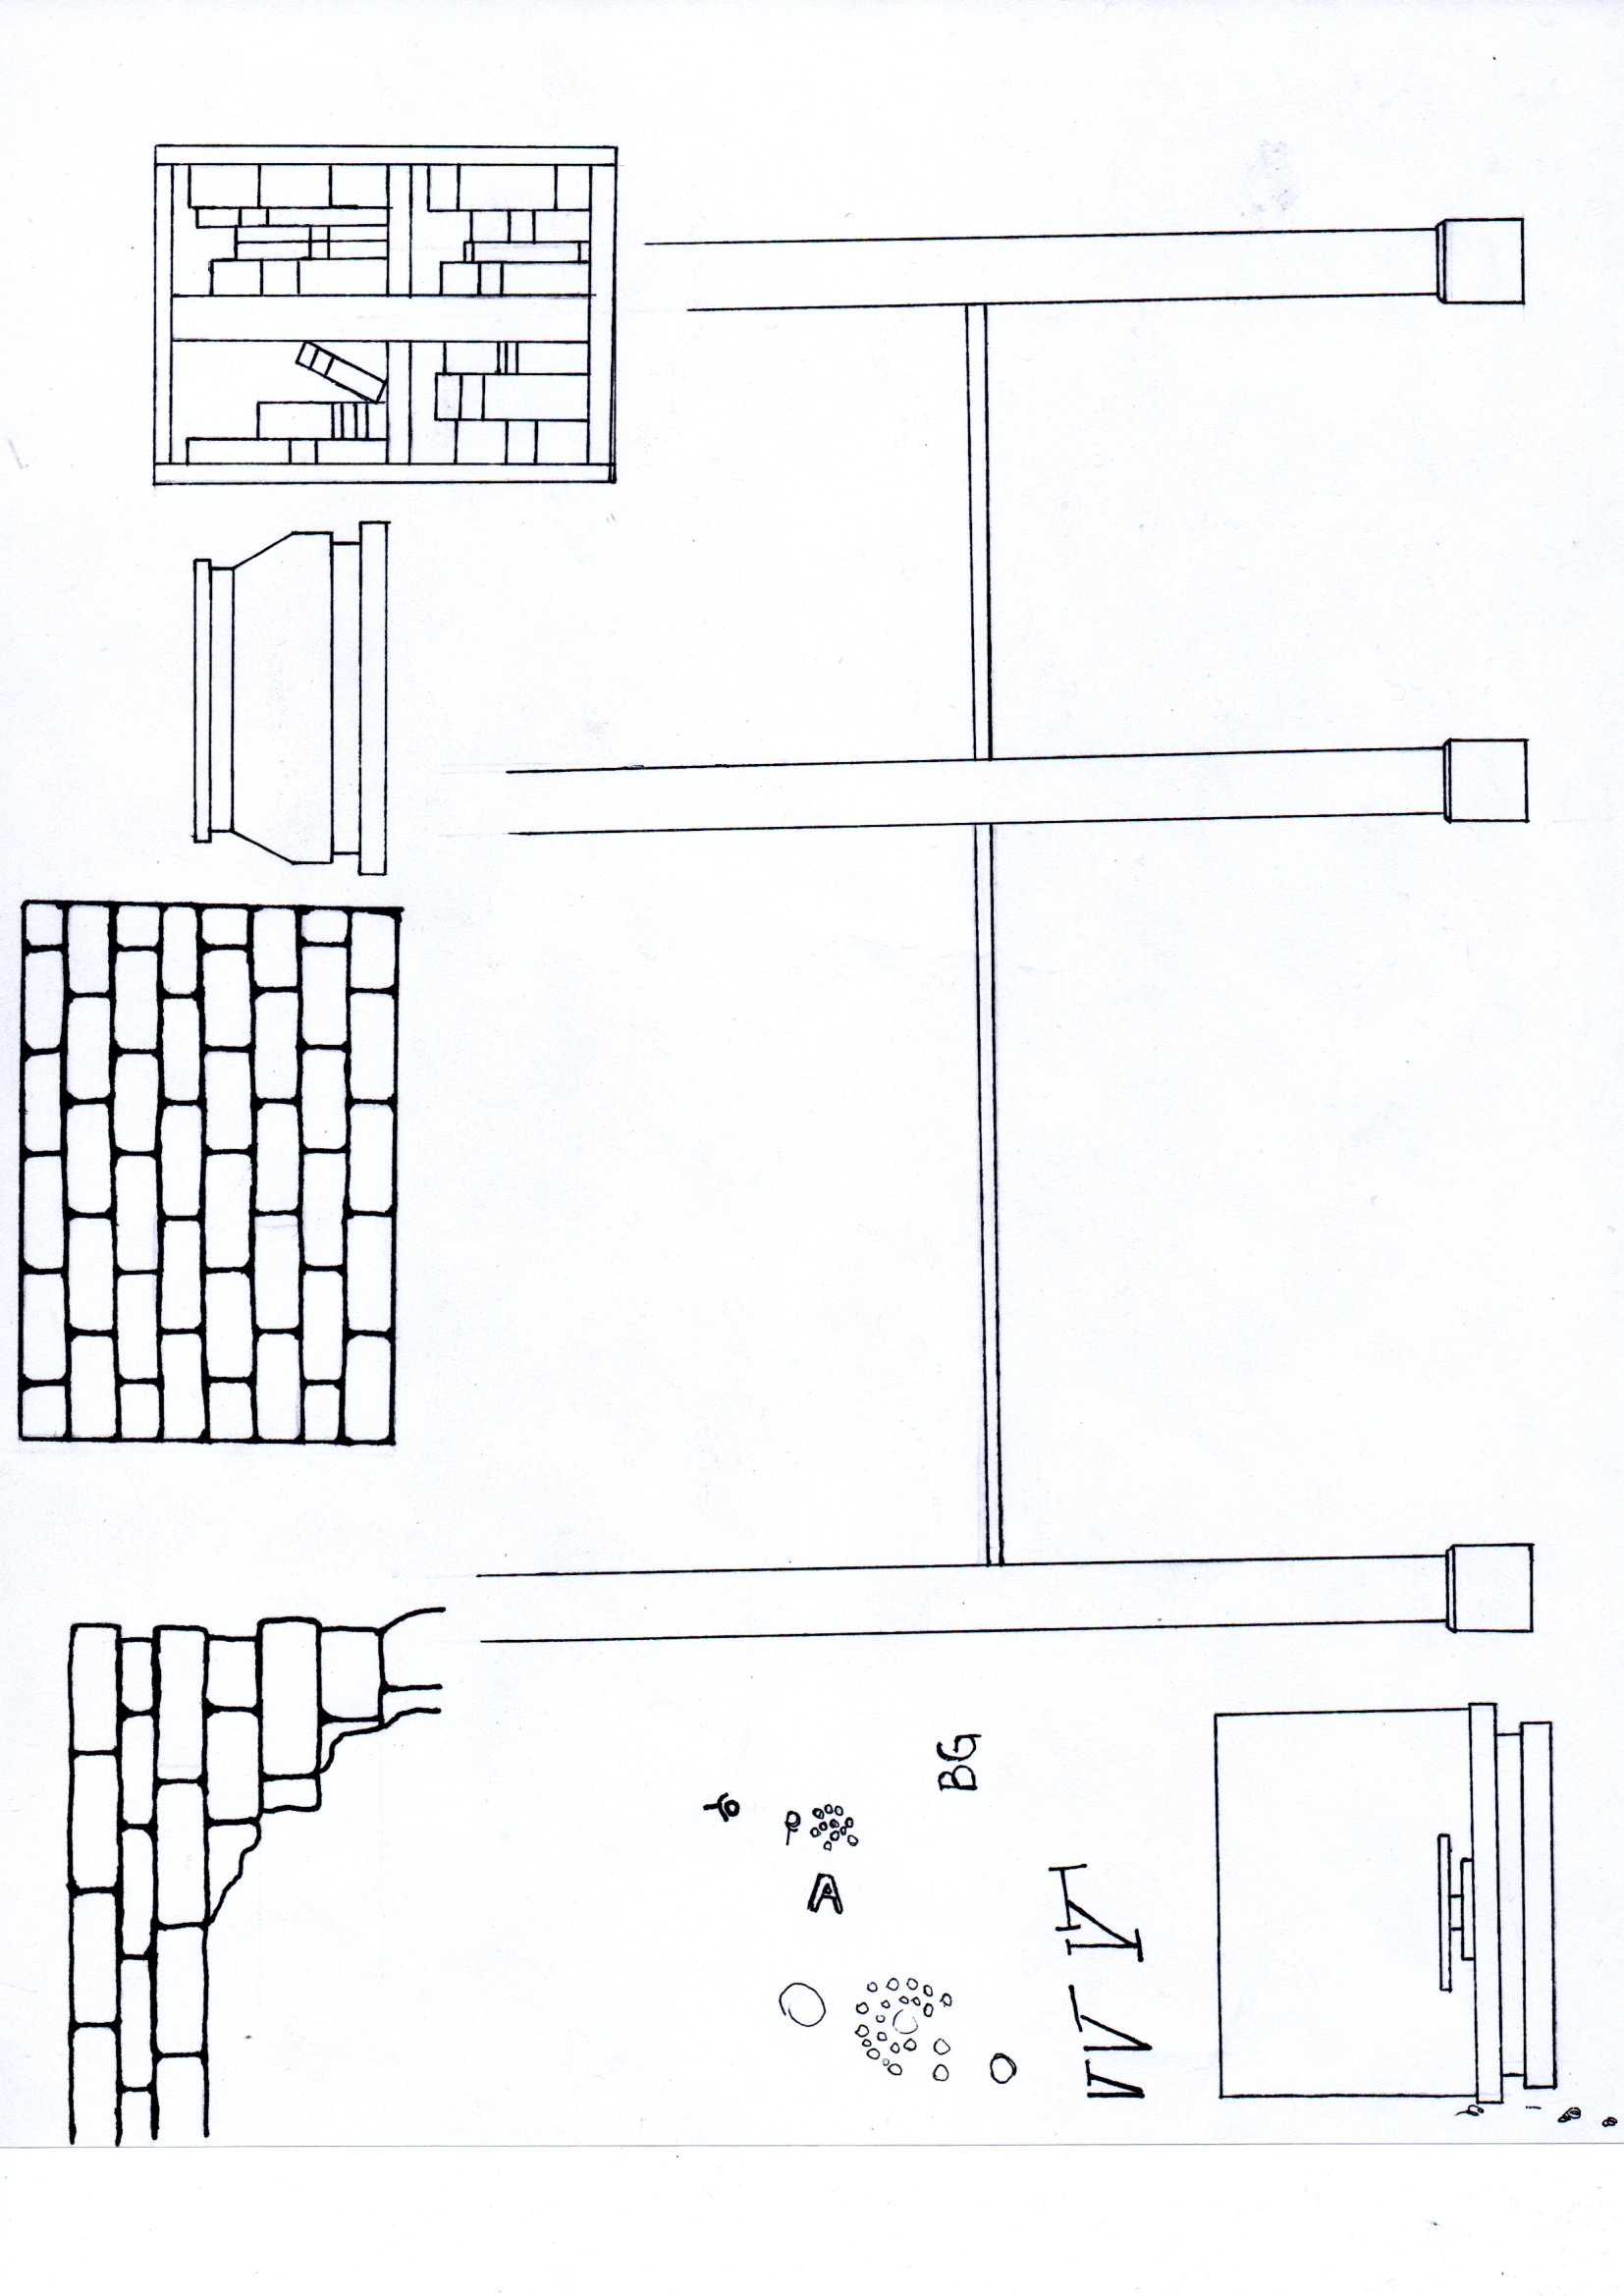
I think this is an upgrade. What do you think?
The color of the lines are black, just as we need them to be. The lines are straight (they aren´t parallel to the corners of the page, but that's another story) and the shapes actually give a real idea of what they are meant to be. This might not be the final result, but we can se the progress and I´m happy about that. Not only that but I´m beginning to formulate and understand a new workflow (which I´ll have to get used to).
After Updating the art line of the assets I realized that my vision of the game art was (still at that point) only in my mind. So I decided to scan and shade this new assets, to have a reference, not only in mind, but an actual physical reference.
Just as I said before with the art line, this might not be the final result, but It helps me to have a departure point. A new standard that can be broken -or followed- depending on the time I got.
Art with screen tones:

In conclusion, what I´ve learned so far with what I got is that I have to have a size reference, so that the art is drawn in scale to -for example- a character.
The rotation of the assets in photoshop might be out of the question, but more testing and experimenting is required.
As a side note, this post is an update of just a portion of the whole art that will be used, so the next updates might be really similar to this one, just a little shorter.
Tomorrow I´ll work on the remaining art. Expecting to finish it at night.
I would like to begin as soon as possible with the actual work in Unity, so that I can test movement and apply parallax scrolling. But maybe I´m diving in to much by now.
Leave a comment
Log in with itch.io to leave a comment.